Use enough glue to form an even and consistent line along the bottom. Be sure to put a couple good sized glass beads in the bottles to act as mixers.

Glitter Custom Packaging Blank Plastic Rose Gold Make Your
Remember that the overflow doesn't need to be strong (the water pressure will be very similar on both sides of the overflow on most nano tanks), but it absolutely needs to be leak proof so using thin, cheap acrylic isn't an issue.

Making your own acryilic box. Lay the bottom of the box on a flat surface and position one end perpendicular to it. Apply solvent cement along the inner seams of the case. Seal the outer seam between the acrylic pieces, using masking tape.
For airbrush work, ink consistency is a good thing. 2 longer pieces to serve as the front and back of the tank; Do not pump any glue into the horizontal joints until the bottom is completely dry.
Watch this video to see how to assemble the acrylic photo block (written instructions follow): Do not remove this, as it will prevent the solvents from staining the acrylic where the solvents don't need to be. Purchase a block mold in the shape you desire.
Keep the rest of it on to protect it from scratches. Allow this glue to dry for at least four hours before continuing. You might also consider airbrush medium also from golden.
All you need to do is print your photo out at 4×6 inches onto a sheet of the clear sticker paper. Hold the ruler very tightly. Tape to cover up any holes in the bottom of the box;
Cardboard box—the best boxes come from stores like costco or sams; You can trim off the overhanging peeled off protective layer with a pair of scissors if it gets in your way. You will notice your acrylic will have a protective film on it.
Drill drill bits (one for the size of the opening of your standoffs and one for the screw for the wall) painter’s tape; For making the diy acrylic frames: I am going to show you how to make an acrylic display case.
You can see the cut through the other side as the sheet is transparent. This box has 60 x 40 x 8 cm (aprox 15 by 23 by 3 tall) and you can make it any size you want but i recommend not making it too shallow so you can get a better light refraction inside the box. Next, add 1/4 of white craft glue in the glass.
Instead, leave it all in place, except for a sliver you cut away, about 1, around all sides. Place the acrylic sheet on a flat surface and hold the stainless steel ruler along the acrylic sheet where you want to make the cut. First, you will have to prepare your acrylic panels by removing the part of the protective layer on the edge you will be gluing.
Apply wood glue to 1 of the short boards. Make the box // cutting all pieces to size. I use it for making airbrush colors from golden fluid and heavy bodies paints.
Take 1 of the shorter length of 1 by 4 in (2.5 by 10.2 cm) boards that will form either the top or the bottom of the shadow box frame and squeeze a line of wood glue across the bottom edge of it. How to make an acrylic box. Remember you can make your own glue at home too.
Make and share music box songs online. The one panel after being cut in half. Make sure the front and back pieces are equal to each other in.
Fill your syringe with acrylic glue and gently begin pumping the glue into the seams around the bottom four joints. Mix it well wih a paint brush until the gouach and white glue are blended completely. Take one of the panels and measure out and mark a point exactly half way along the long edge.
Plastic cups or wooden dowels (depending on the style box you choose); Do this step properly as it's very important if you want to get. It thins but has the desired acrylic base.
This method makes a mold that is thin and weak, yet effective. Plastic cutting sheet (wax paper will also work) to line bottom of boxflow acrylic paint by artist’s loft in neon. Apply a thin bead along the joint.
Gently squeeze the acrylic glue onto the joint where the two meet being careful to keep the applicator in the joint and against the acrylic. I started with the 350mm x 300mm panel first. If your drains are on the back pane, you'll most likely want a 4 sided box (though you could still have a 3 sided overflow the height of the tank).
And 2 shorter pieces to serve as the sides. We start by cutting the wood to the desired size you want the box to be. You can use a handsaw but the table saw will give a precise cut.
Cut your acrylic into 5 pieces: Do a test fit and smooth the sides. However, you may need to prop your homemade mold up while using it.
Scissors for poking holes in your box (to insert dowels); Marking tool (i used a sharpie) for hanging the diy acrylic frames: Now turn the sheet to the other side.
1 piece to serve as the bottom of the tank; Apply a very small amount of acrylic cement from a syringe or a tube with a fine applicator, starting a little distance from one corner and working. First of all, get a glass and pour as many gouache as you'll be needing.
You can choose the types, colours and sizes of acrylic sheets to create your case to suit your liking.
Build Your Own Display Case Plans DIY Free Download Making


Pin on plastic canvas!
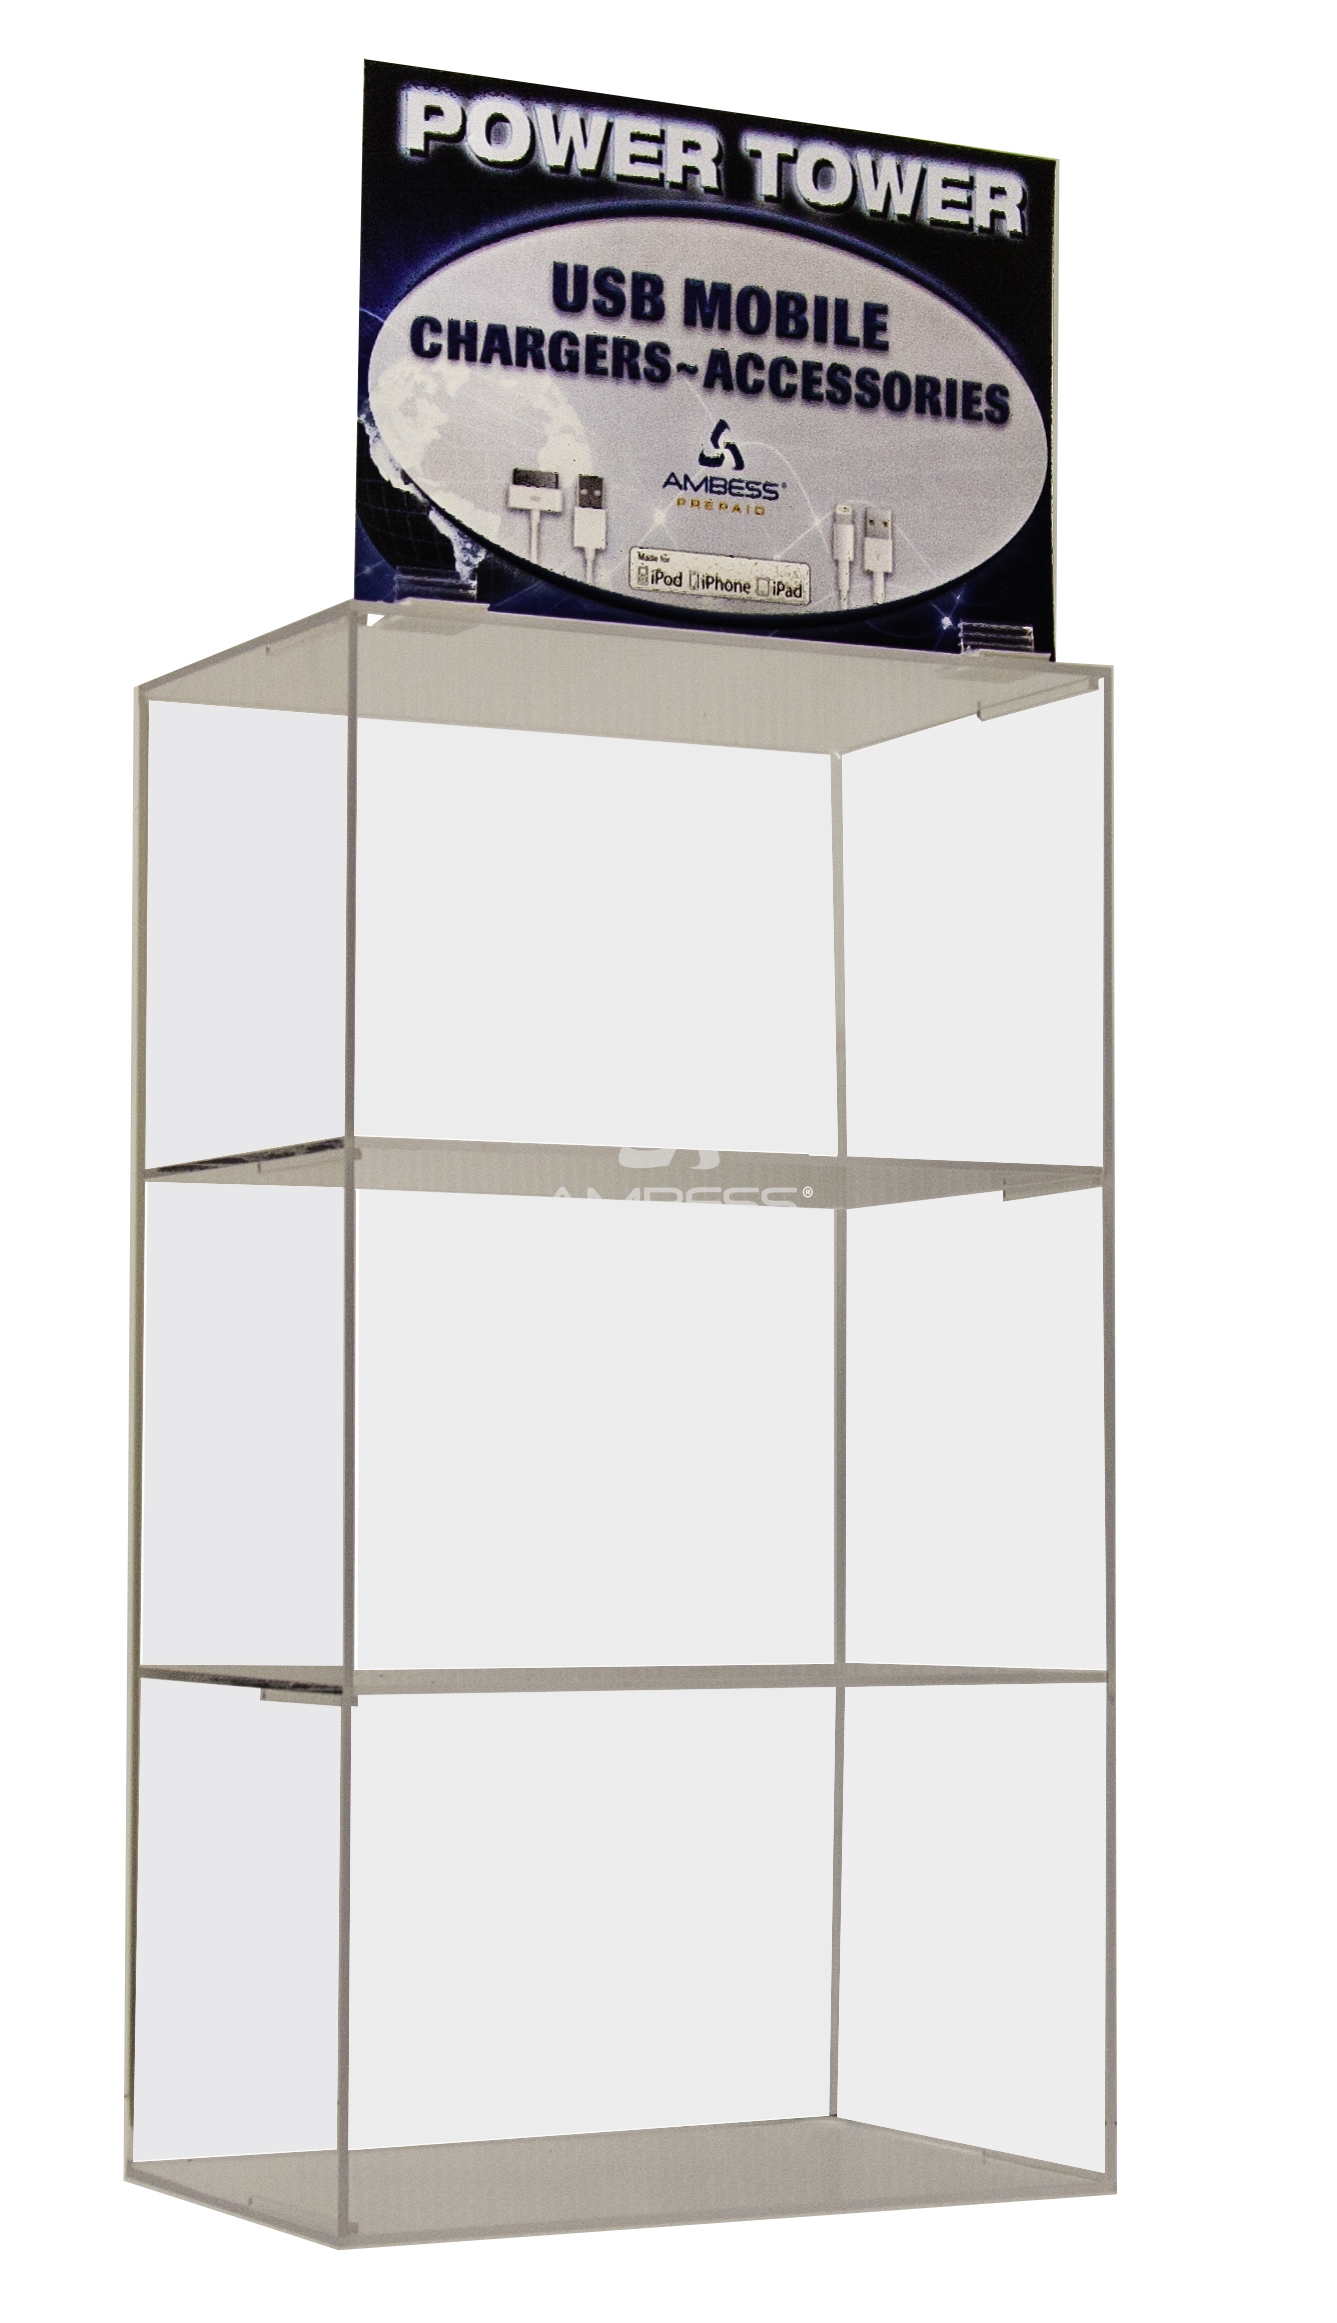
Acrylic Display Case Build your own assortment! Ambess
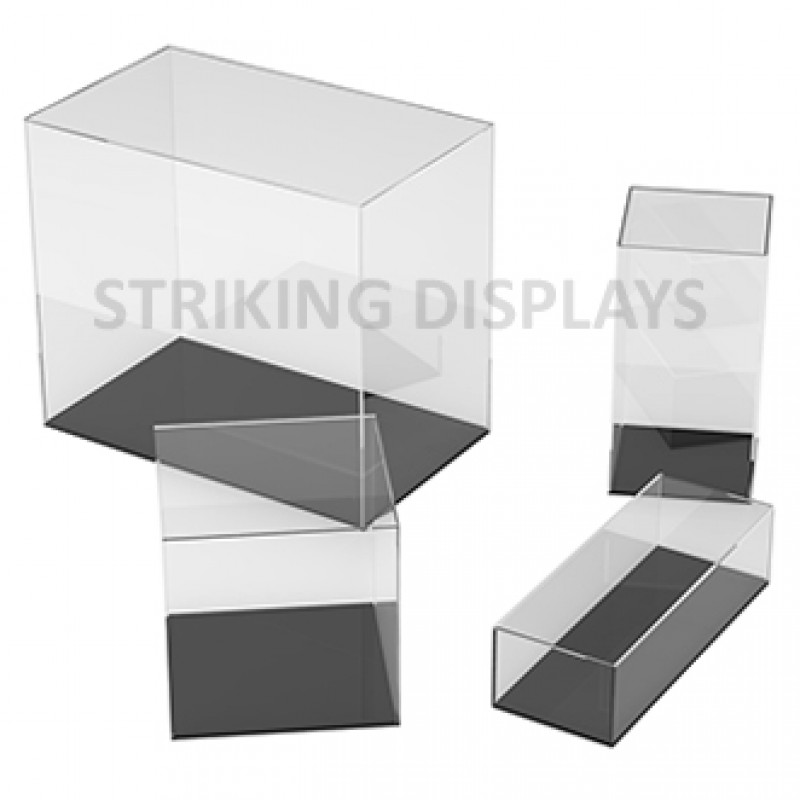
Custom Sized Display Case Create Your Own Custom Case
Acrylic Donation Box or Ballot box with Lock XF12 OEM
